In this guide
You do not need to decide whether you are “a creative person” before making something. A pencil, a paper bag or a half-forgotten paint set is enough for a small beginning. The useful question is much friendlier: what could I finish with the things already on this table?
These three projects have a clear ending: a pencil postcard of one ordinary object, a paper-collage window, and a small watercolor sky. Choose the one whose materials you own. Each has an optional variation, but finish the simple version first. One completed little picture teaches you more about what you enjoy than a shopping basket full of possibilities.
| Project | What you need | Finished piece |
|---|---|---|
| The travelling mug | Paper, pencil, eraser if available | 10 × 15 cm pencil postcard |
| A window somewhere lovely | Paper scraps, backing paper, scissors, adhesive | 12 × 16 cm collage |
| Three quiet skies | Watercolors, brush, water, suitable paper | A strip of three miniature skies |
1. Draw a travelling mug, one shape at a time
A mug is a forgiving subject because you can place it in front of you, turn it and start again. For this drawing, it becomes the cup at a remembered café or a future breakfast by a window. You do not need to reproduce a complicated café scene.
Set up: mark a 10 × 15 cm rectangle on plain paper. Work vertically. Place a mug on the table with its handle facing right, and choose a position where you can see a little of the opening. Leave the mug in that position until you finish. Set aside roughly 20 minutes; the timing is a planning suggestion, not a deadline.
- Give the mug a home. Lightly draw a horizontal tabletop line about 4 cm above the rectangle's bottom. Mark the mug's top and bottom: about 4 cm from the top of the paper and 3 cm from the bottom. Keep a finger's width of space around the handle.
- Draw the opening. Sketch a wide, shallow oval, approximately 5 cm wide. Look at the real mug rather than forcing a perfect ellipse. Draw the left and right sides down from the oval, then connect them with a curved base.
- Add a handle with space inside. Draw a curved outer shape on the right, then a smaller curve inside it. Leave the inner space pale. If the handle meets the mug in an unexpected place, adjust the light sketch now.
- Find three tones. Keep the lightest side almost white. Shade the darker side with close, gentle pencil strokes. Add a slightly darker strip inside the opening, following what you see. Let the real light choose the shadow side.
- Anchor it. Sketch the shadow on the table as one simple shape. Darken it most near the mug's base, then lighten your pressure toward its edge.
- Choose the final lines. Strengthen a few edges rather than outlining everything heavily. Add a small caption below the tabletop: “A slow morning” or a real place and date connected to your mug.
If the cup looks lopsided, compare the spaces on either side before erasing the whole drawing. If the paper has become shiny or dented, stop pressing harder; use the softer grey already there. The aim is a recognisable object with a little light and character. Photograph the finished piece beside the mug to remember what you were looking at.
A second version: draw the same mug again on the reverse, using only five minutes and no eraser. Compare where you placed the handle and opening. This is an observation exercise, so the two drawings do not have to match.
2. Build a little window from paper scraps
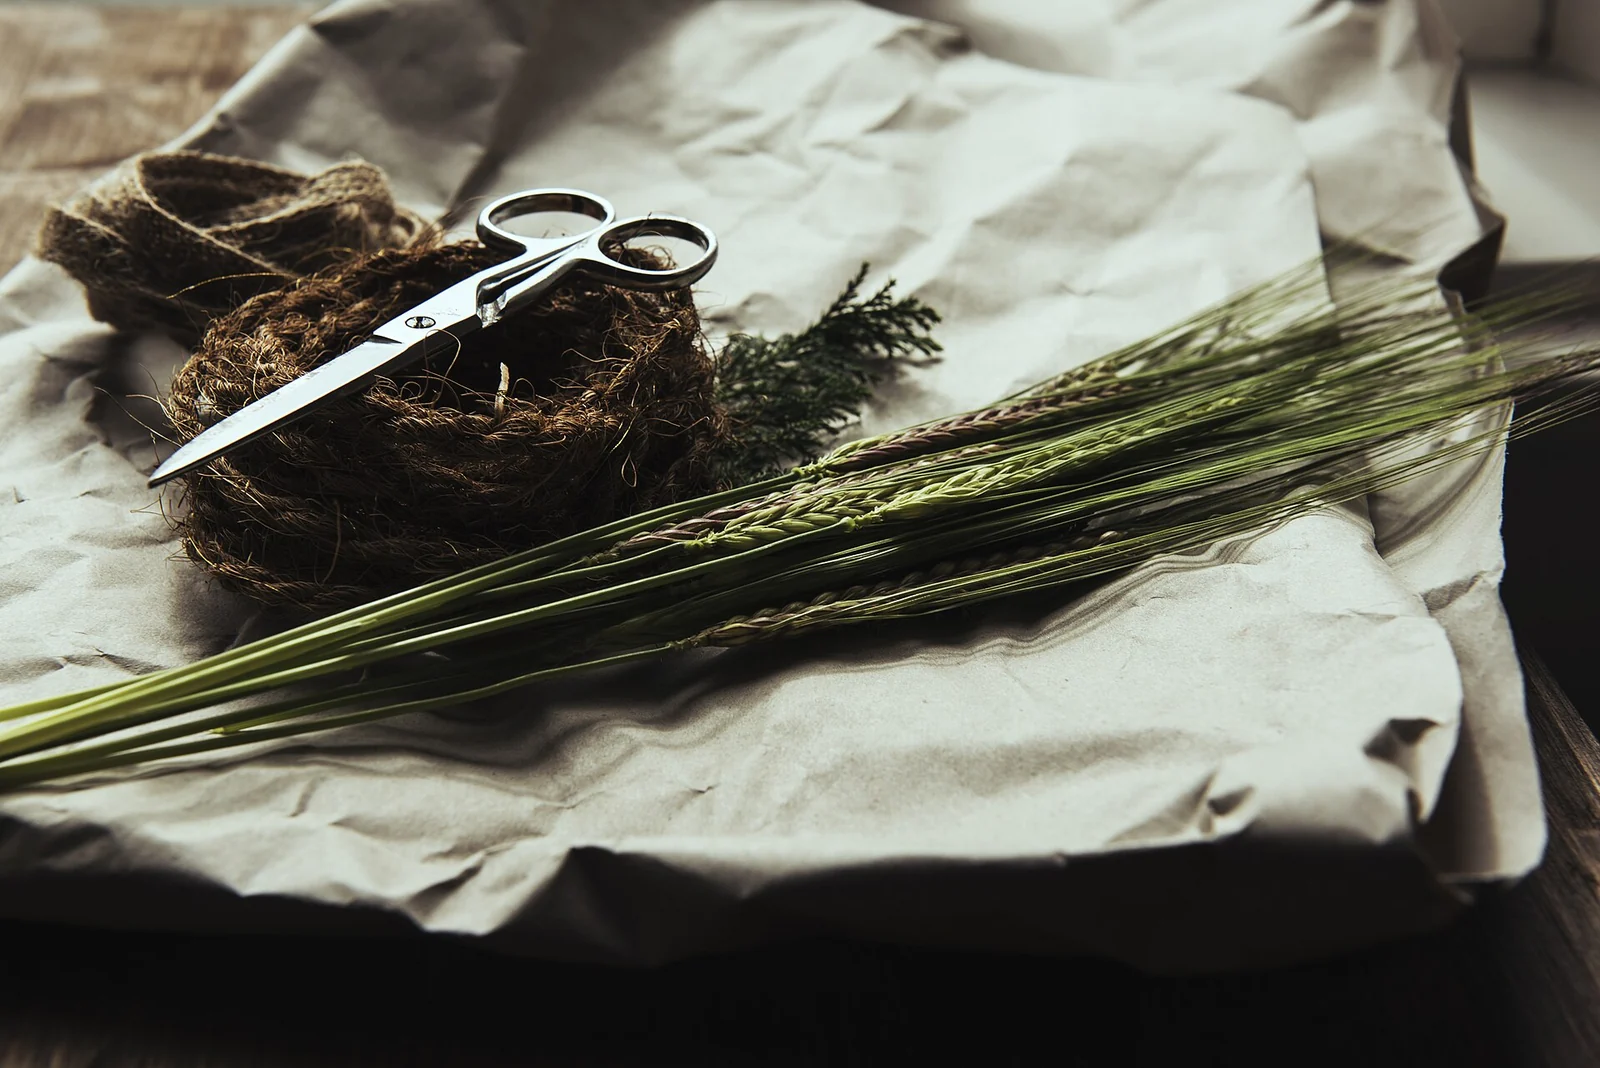
This collage makes a small view: sky above, a row of buildings below, and a window frame in front. It can recall a destination without trying to reproduce a particular artist's illustration. Magazine colour, an old envelope and clean packaging can provide plenty of texture.
Set up: use backing paper approximately 12 × 16 cm. Gather three or four colours: one for sky, two for buildings and a contrasting shade for the window frame. Newspaper can work as a building; turn a distracting headline inward or choose a quieter part. Keep the adhesive suitable for the papers you have.
- Place the sky. Cut a rectangle about 10 × 12 cm and centre it on the backing, 1 cm from the top. Leave it loose for now.
- Make the skyline. Cut three building rectangles about 3 cm wide, with heights of 4, 5 and 6 cm. Arrange them across the lower half of the sky. Let one overlap another by a few millimetres so there are no accidental gaps.
- Add simple roofs. Give one building a triangle roof and another a narrow horizontal roof strip. Keep each feature large enough to handle comfortably. Two or three tiny paper windows are enough; a pen can add the rest.
- Frame the view. Cut two side strips 1 × 12 cm and two horizontal strips 1 × 10 cm. Lay the vertical strips first, starting 1 cm below the backing's top, with their outer edges 1 cm from its sides. Lay a horizontal strip across the top and one across the bottom, aligning their outside edges with the vertical strips. Trim a strip if it extends awkwardly.
- Make a sill. Place a 10 × 1.5 cm strip below the frame. A small paper semicircle on the sill can become a bowl or plant pot; add three leaves with a pen.
- Glue in order. Take a quick photograph of the loose arrangement. Lift the frame away, glue the sky and buildings first, then the frame and sill. Apply a thin layer and press gently from the centre outward.
A buckled sky usually calls for less wet adhesive next time, not more pressure while the paper is damp. Let the collage dry flat before adding lettering. If your scraps clash, repeat one colour in two places to bring the view together. Finish with a one-line label on the back: “A window I would like to open.”
3. Paint three quiet skies in one small strip
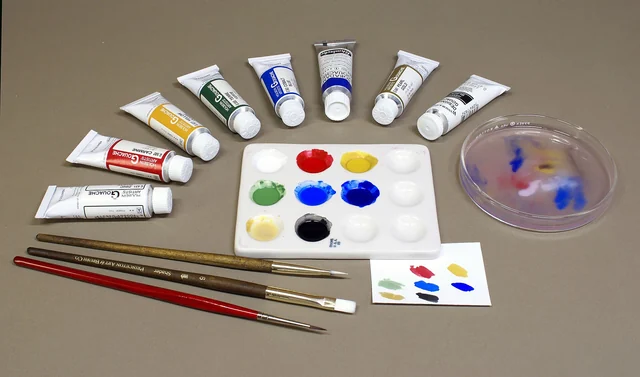
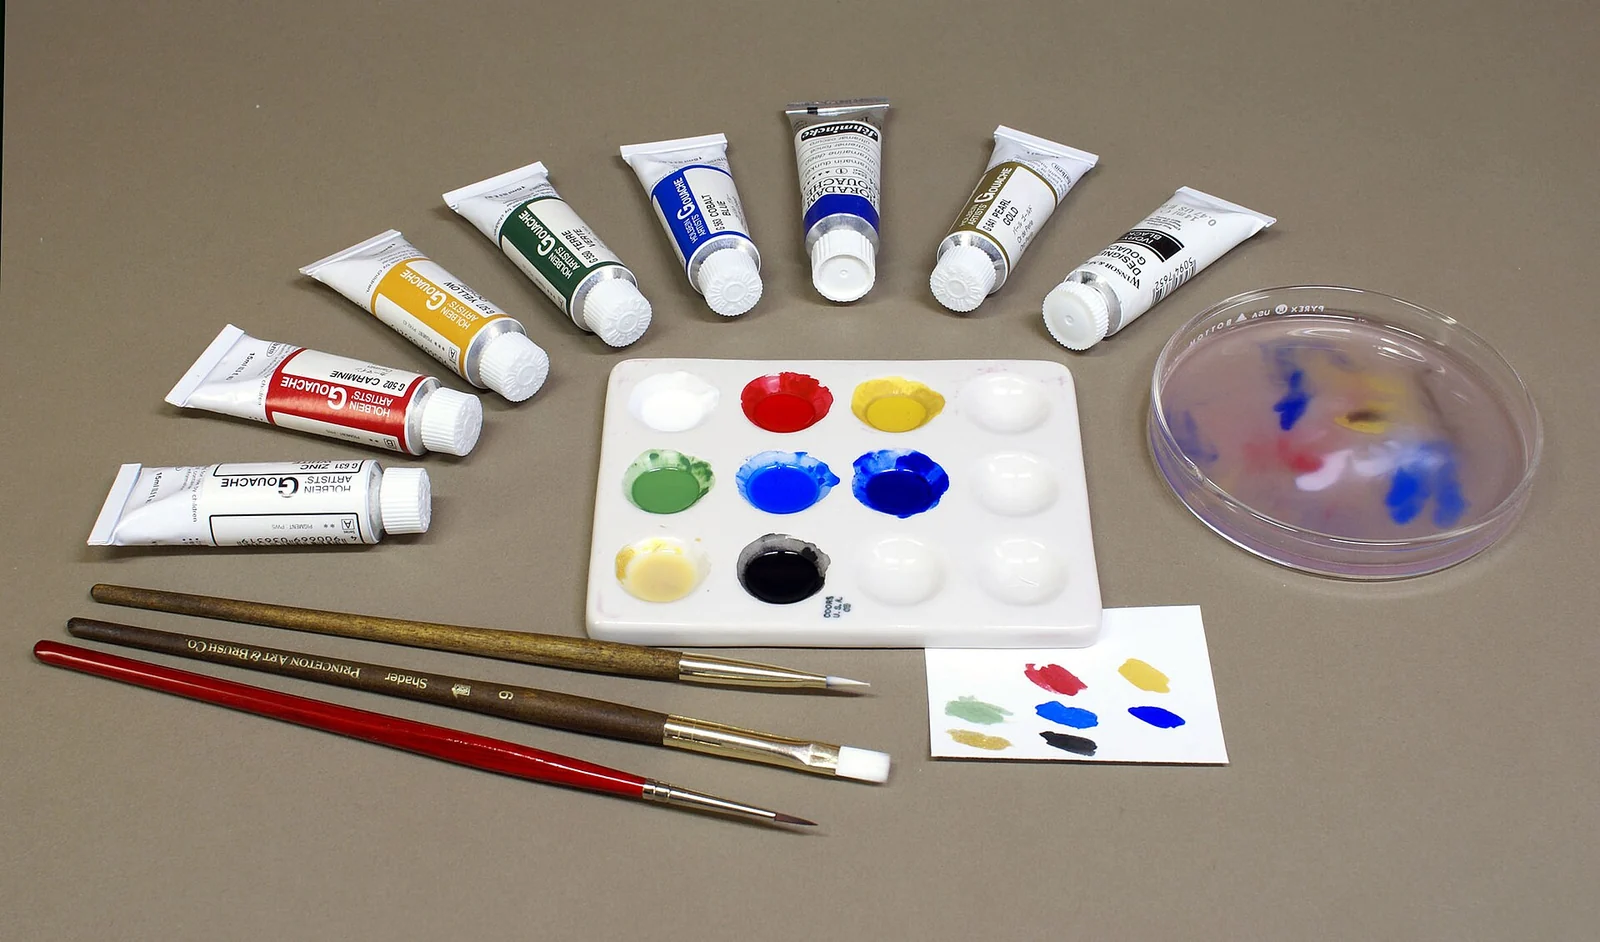
This exercise is about how one colour changes with water. It produces three tiny landscapes without needing buildings, people or precise drawing. Use watercolor paper if you have it. Ordinary paper is fine for exploring, but may buckle, so use less water and keep the pictures small.
Set up: cut or mark a 10 × 21 cm strip. Lightly pencil three 5 × 6 cm windows across it, with approximately 1 cm between them. Gather one blue paint, a second warm colour if available, a brush, a water container and scrap paper. The basic version works entirely in blue.
- Make a small palette. Mix one patch of blue with enough water to flow from the brush. Beside it, make a paler puddle by adding clean water. Test both on a scrap.
- First sky: a clear morning. Paint a pale wash across the top half of window one. Rinse the brush, remove excess water, and draw the damp brush along the lower edge to soften it downward. Leave the bottom third light.
- Second sky: passing cloud. Paint around two irregular white spaces in window two. Do not draw perfect cloud outlines. While the wash is damp, soften one lower cloud edge with a barely damp brush, leaving the other edges alone.
- Third sky: evening. Put a very pale warm wash in the lower half of window three, or leave it white if working in one colour. Let it dry. Add pale blue above, stopping before you scrub the lower colour into it.
- Add land after drying. Use a darker blue to paint a low hill or distant shoreline across the bottom of each window. Keep the line below the midpoint so the sky remains the subject.
- Finish quietly. Let all three dry fully. Add “morning,” “cloud” and “evening” beneath them, or use three real dates.
If a darker bloom spreads into the sky, leave it to dry before deciding whether you dislike it. Repeated brushing into a half-dry wash can make the patch more obvious. If a colour becomes muddy, rinse the brush and mix a fresh small puddle rather than adding more colours. This page is complete when it has three distinct skies, not when each one is flawless.
Let the finished piece choose your next afternoon
Put the project somewhere visible for a day. Notice which part you wanted to keep doing: looking closely, moving shapes around, or watching paint spread. That is a useful clue for the next project. Repeat the same exercise with one change before buying a larger kit.
The pencil postcard can become the front of a note. The collage can sit inside a plain card. The sky strip can stay in a notebook as a date marker. If you want a keepsake with more words, try our travel-memory accordion. If painting felt most appealing, the first watercolor afternoon guide explains how to choose a class and a manageable set of materials.
Sources and project note
Three original editorial exercises, written 2 November 2026. No external artist's pattern or class project has been reproduced. The directions have not been physically tested; paper, tools and drying conditions affect the result.
Sources & practical updates
Researched 2 November 2026. Public prices and schedules are dated snapshots. The exact booking, itinerary and access needs determine the final details.
These guides combine independent research and original planning advice. We have not personally attended the listed experiences; illustrative routes and projects are identified in the text.