In this guide
The appealing part of a first watercolor afternoon is the small pool of colour, the clean page and the possibility of making something lovely. The less appealing part is discovering that the class you chose expects six things you do not own. Start with the project and its materials list, and you can keep the afternoon pleasantly simple.
This guide helps you choose an introductory class, work out the actual starting cost and set up a first session with a clear finish. There is also an original one-colour postcard exercise below, so you can explore the medium before committing to a class. You do not need a finished artist's studio to find out whether you enjoy painting.
Choose the kind of first painting you want to make
“Learn watercolor” is a very large ambition for one afternoon. Choose a smaller outcome: understand how water changes one colour, paint a modest landscape, or make a page around a travel photograph. Those goals call for different lessons. A course full of expressive experiments may be a good match for curiosity, while a carefully drawn street scene asks for a different kind of attention.
A concrete official-preview example is Modern Watercolor Techniques by Ana Victoria Calderón. Its public page describes a beginner course with no prior knowledge required. The syllabus includes transparency, gradients, brush pressure and precision; the final project is a nebula or galaxy illustration. That makes it a possible fit for someone interested in colour and experimental marks, rather than a direct lesson in drawing buildings.
The same preview lists 32 lessons with 3 hours 22 minutes of video. Treat that as viewing time: it does not include laying out your materials, practising, letting washes dry or trying a page again. You can begin with the introductory exercises in one session and leave the final illustration for another day.
Before buying any class, watch its available trailer or sample. Listen for a teaching pace you can follow and look for clear views of the brush, palette and paper. Check the language and subtitle options yourself. A teacher whose finished work delights you may still teach a different project from the one you have in mind.
Lay out what you own before buying a kit
Empty the pencil tin and open the old paint box. Separate usable supplies from things that only resemble them: a dried-out marker is not a brush, and a sketchbook with thin drawing paper may respond differently from watercolor paper. You can still experiment with modest materials; knowing their limits helps you interpret the result.
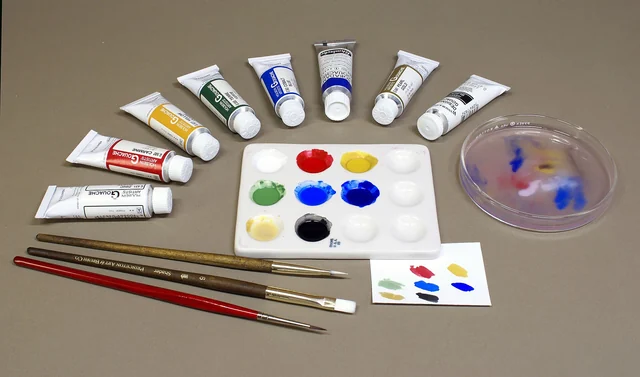
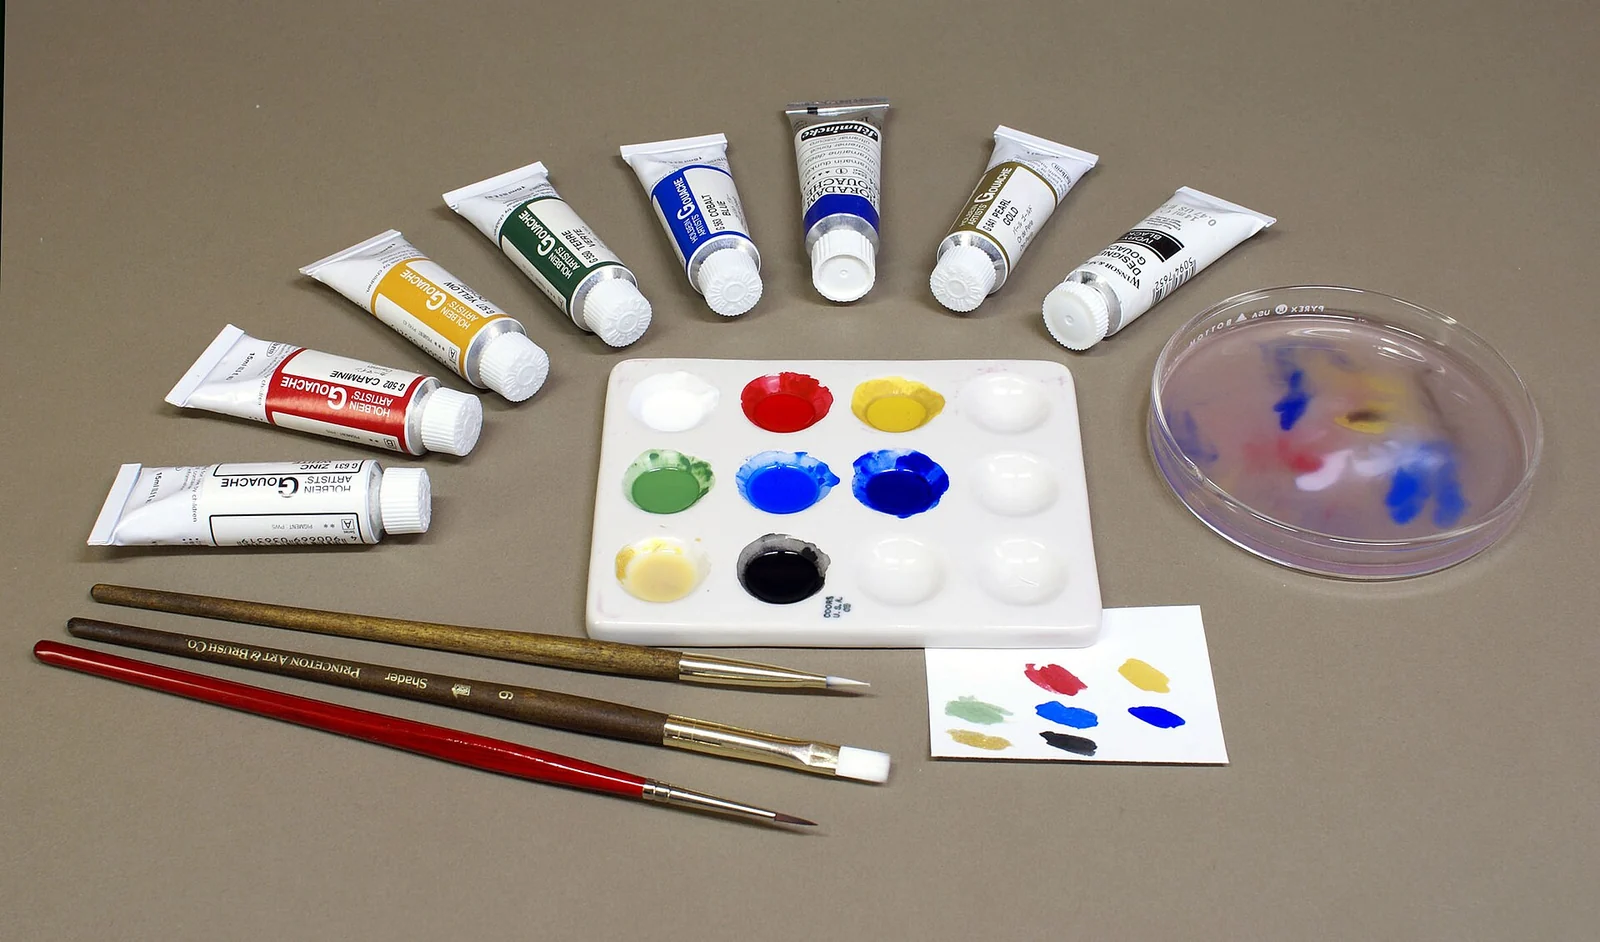
For the Calderón course, the published materials list includes a watercolor sketchbook, pencil, sharpener, eraser, watercolors, round brushes including a fine one, black ink, acrylic paint or white ink, a water glass and a palette. Additional experimental materials are described as optional. If you want to follow the full final project, compare the complete current list with your supplies rather than buying only for the first exercise.
| Item | For our postcard exercise | Useful decision |
|---|---|---|
| Paper | A small piece suitable for watercolor | Use what you own first; if buying, check that the pack is intended for wet media |
| Paint | One blue, green or brown | A single existing colour is enough for this exercise; a whole class may need more |
| Brush | One brush that holds water and comes to a usable point | Try its broad stroke and tip on scrap before replacing it |
| Palette | A clean mixing surface | A suitable washable dish you already use for craft work can serve |
| Water and cloth | A stable container and something absorbent | Set them beside your dominant hand, away from the screen |
| Drawing tools | Pencil; eraser optional | Keep the sketch light enough that it does not dominate the wash |
The smallest sensible shopping list is the one that removes an actual obstacle. If your paint and brush work but your paper disintegrates after a light wash, paper is the useful next purchase. A larger palette will not solve that problem. If you are following a paid class, do not silently substitute a required tool and then assume you are recreating its method exactly.
Calculate the whole starting cost in your own currency
Write down four numbers: the class charge, the missing required materials, any delivery charge, and any subscription charge you would be committing to. Use the amount actually due, including applicable taxes shown at checkout. A low-looking course offer can have a different meaning if it involves a recurring plan.
Keep optional extras on a separate line. You might enjoy a beautiful brush roll later; it is not part of finding out whether you like the way paint moves through water. Borrowing a brush or using a smaller paper format may reduce the initial spend without changing the question you are trying to answer.
Here is a calculation structure, not a current price quotation: if your class costs C, missing essentials cost M and delivery costs D, your first-project cash outlay is C + M + D. If a plan also creates a recurring charge, record its date and amount separately. Do not spread that bill over imaginary future projects to make today's choice feel cheaper.
If you are tempted by a membership because you have saved many classes, compare it with buying the one course you can name and schedule. Our course-or-membership comparison explains the access and billing differences. The right choice can be the smaller commitment, especially while you are still finding your favourite medium.
Set up an afternoon with one small finished page
For an independent first taste, make a monochrome “far shore” postcard. This is our original exercise, separate from the course's galaxy project. Use a piece of paper approximately 10 × 15 cm, placed horizontally. Leave a margin of about 1 cm, so the painted window is approximately 8 × 13 cm.
- Make three colour strengths. On scrap, paint one pale wash, one medium wash and one darker stroke using the same paint. Change the amount of water rather than adding another colour. Keep these samples beside the postcard.
- Sketch the shore. Lightly mark a low, uneven horizon about 5 cm down from the top edge. Put a small headland on one side. Keep the drawing simple enough to recognise in five or six lines.
- Lay in a pale sky. Brush a pale wash across the top, leaving one irregular patch of paper white for a cloud. Bring the colour down toward the horizon without repeatedly scrubbing the same area.
- Wait for the shine to disappear. Let the sky dry before adding a sharper shore. Use the pause to rinse the brush, stretch your hand and look at the paper from a little distance.
- Add the distant land. Use the medium wash to paint a narrow shore shape. Make one part taller to suggest the headland. Leave the water below mostly pale.
- Finish with a few marks. Once dry, add three or four horizontal darker strokes in the water and a small dark mark at the headland's edge. Stop before every empty space acquires a detail.
If the wash pools, tilt the paper gently back to level and touch a clean, lightly damp brush to the edge of the excess. If your sky has dried unevenly, leave it rather than chasing it with more water. Write the date and the colour used on the back; those details make the page useful when you repeat it.
For a class session, replace the exercise above with the teacher's first task and keep the same practical rhythm: a short section of video, a pause to practise, then a note about what you discovered. Finish by choosing one next step, such as repeating a gradient or painting a second shore. For alternatives that need no new purchase, try the three projects using existing supplies.
Sources and review note
Official Modern Watercolor Techniques course preview, checked 2 November 2026. Course facts above come from the public syllabus and materials list; the paid class has not been taken. The independent postcard exercise is an original written design and has not been physically tested. Confirm current purchase terms and the full materials list before paying.
Sources & practical updates
Researched 2 November 2026. Public prices and schedules are dated snapshots. The exact booking, itinerary and access needs determine the final details.
These guides combine independent research and original planning advice. We have not personally attended the listed experiences; illustrative routes and projects are identified in the text.